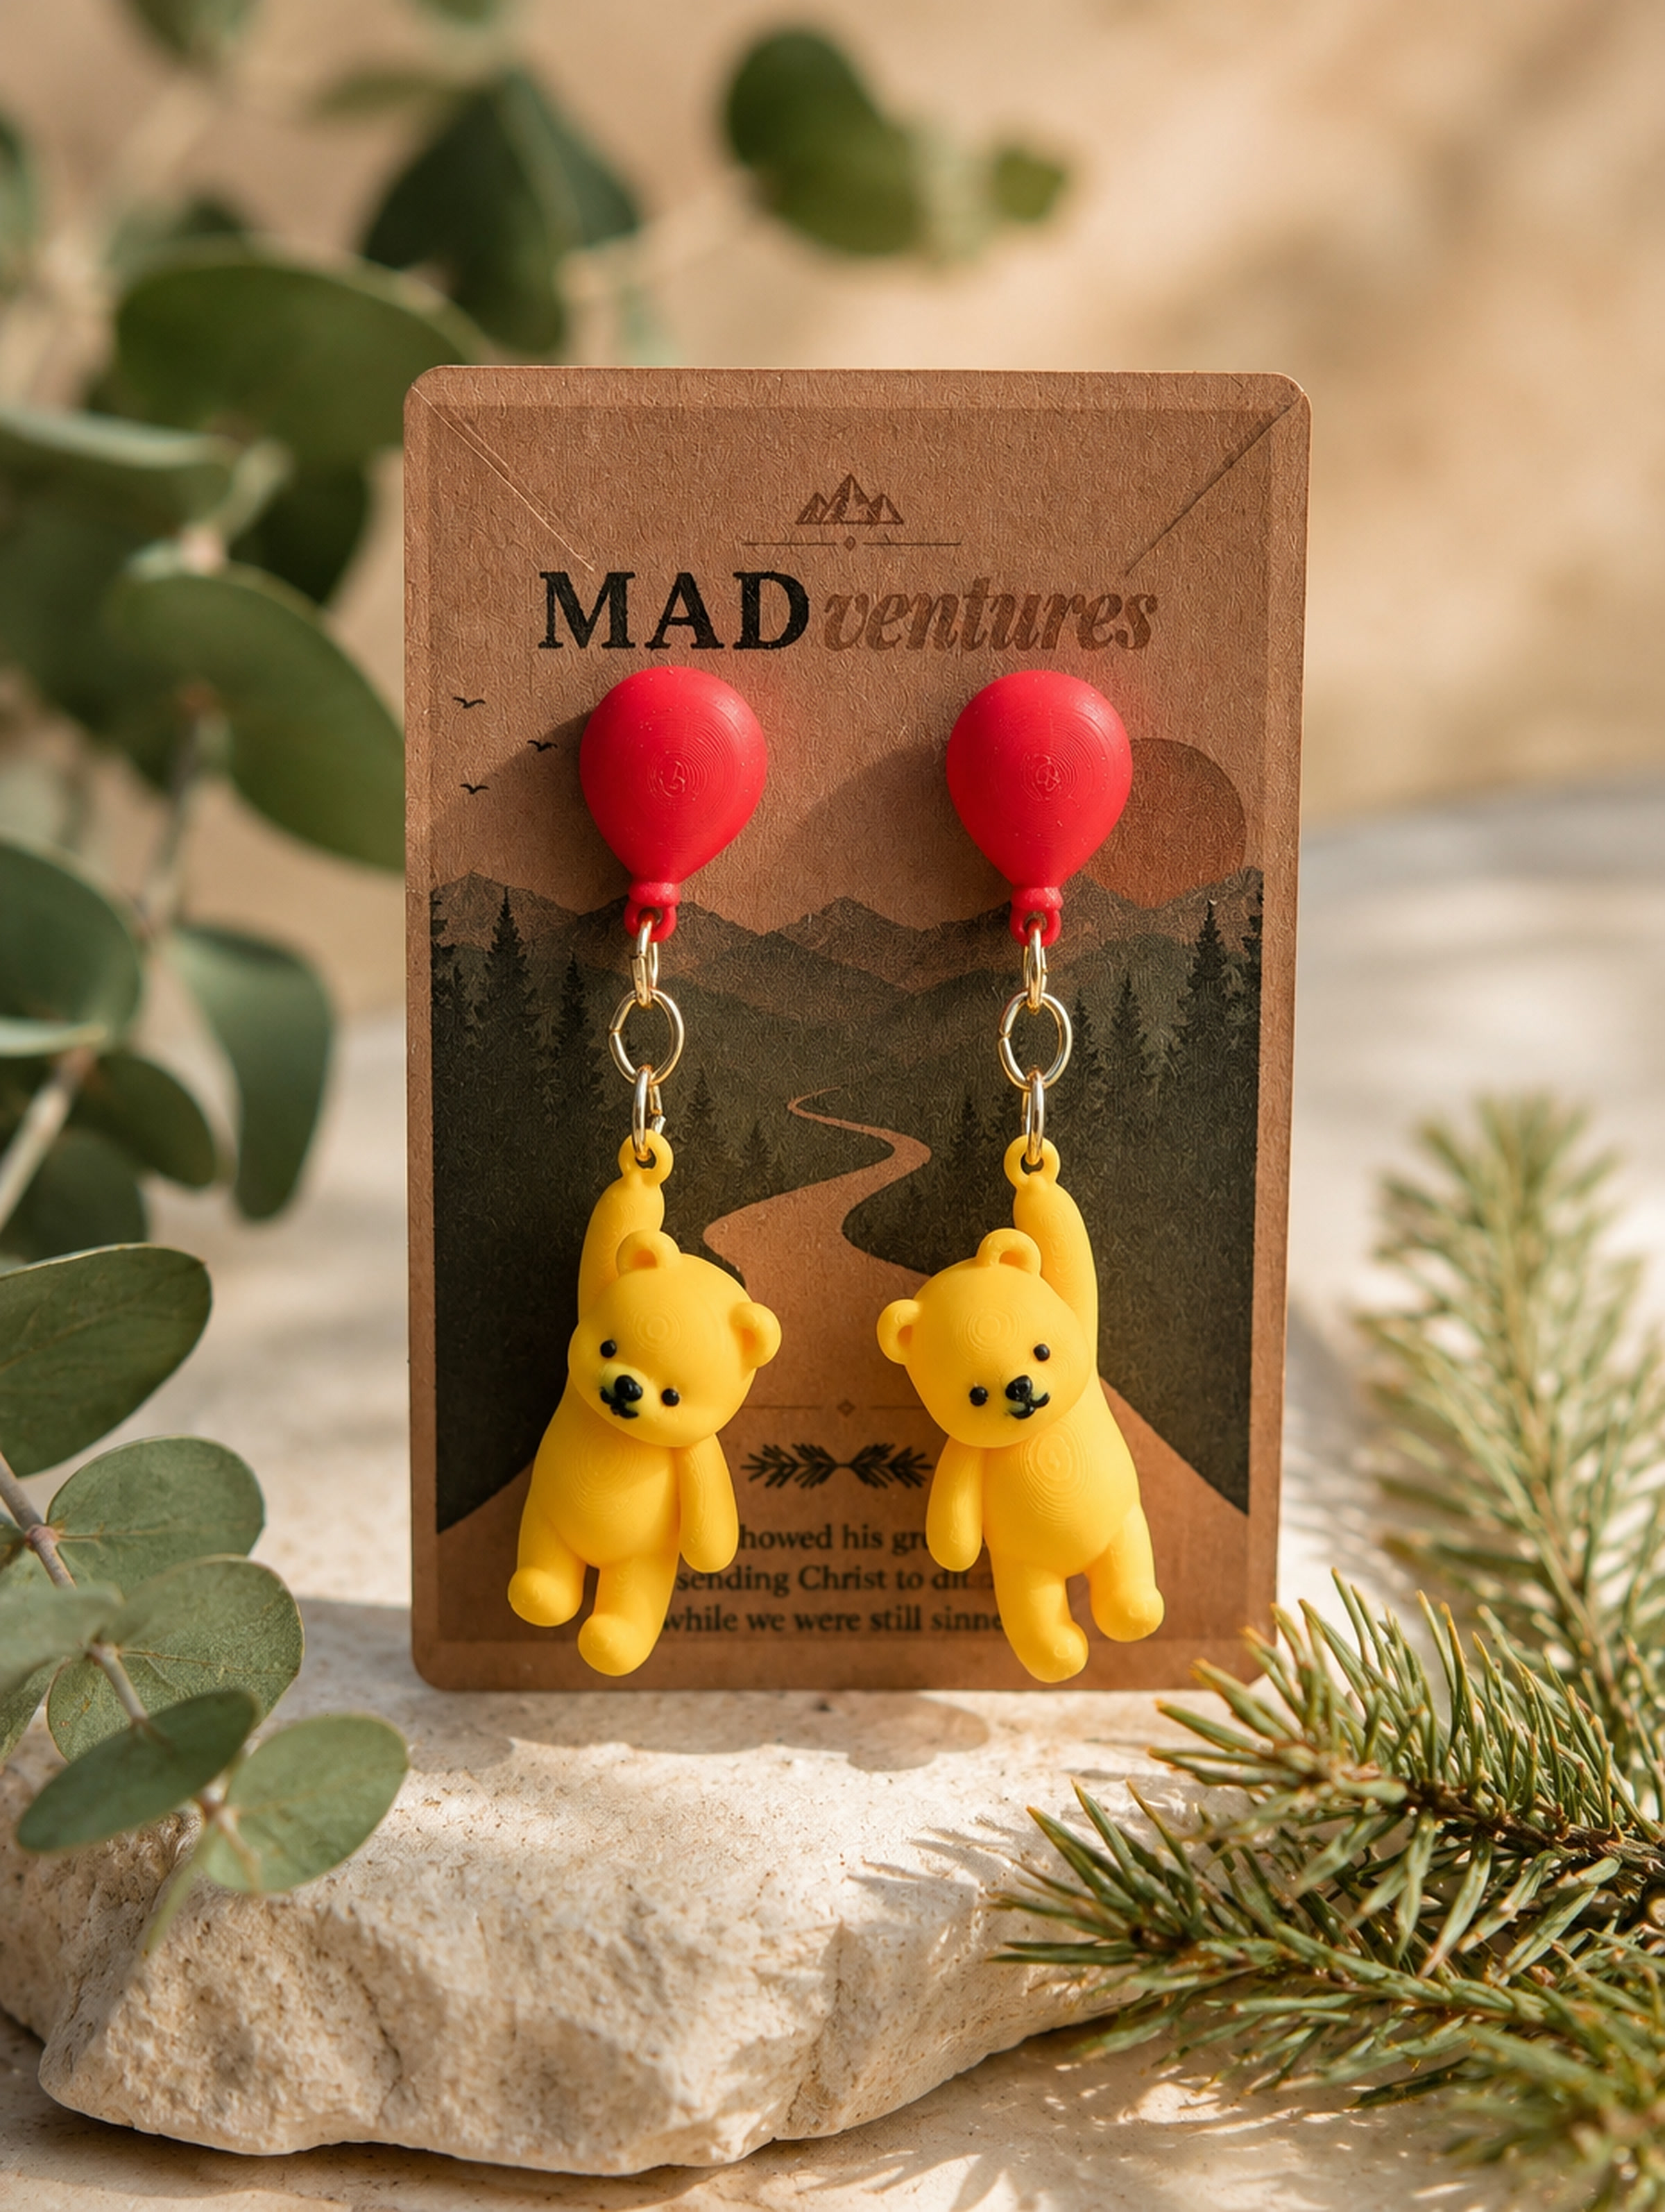
Product photography carries a large part of the trust in an Etsy listing. A buyer cannot hold the item, compare its weight, or turn it toward the light. The photographs have to answer those questions clearly enough that the description and checkout path feel believable.
The best images are not necessarily the most elaborate. They are consistent, accurate, and planned around the questions a buyer is likely to ask. A simple repeatable setup usually produces stronger listings than a different visual experiment for every product.
Start with a shot list
Before setting up the camera, write down what the listing needs to prove. Most handmade goods benefit from a recognizable hero image, a straight-on view, a detail image, a scale reference, a side or back view, and a contextual image that shows how the item fits into everyday life.
For earrings, show the complete pair, posts or hooks, front surface, approximate drop length, and a view that communicates dimension. For a candle, show the jar, label, wax surface, lid, available sizes, and a setting that supports the scent mood without hiding the product. For a journal, include the cover, binding, page style, thickness, and an open spread.
- Hero image for immediate recognition
- Front, side, and back views when they reveal useful information
- Close detail for texture, finish, hardware, or print quality
- Scale reference using a hand, ruler, common object, or worn view
- Packaging or gift presentation when it affects the decision
- Lifestyle image that still keeps the product easy to inspect
Use soft, consistent light
Window light is often enough when it is indirect and controlled. Place the product near a large window, turn off mixed indoor lighting, and use a white board to reflect light into the shadow side. Harsh direct sun can create a deliberate look, but it also makes accurate color harder to maintain.
Keep the color temperature consistent across the set. Mixing a cool window with warm overhead bulbs makes white products and natural materials look different from frame to frame. A tripod or fixed phone stand reduces blur and makes it easier to photograph variations at the same scale. Clean the lens before every session; a fingerprint can soften an otherwise strong image.
Build a clear hero image
The first image should make the product recognizable at thumbnail size. Use a clean background, leave enough space for marketplace cropping, and avoid props that compete with the subject. If the item is small, frame it tightly enough that buyers can understand it without opening the listing.
Accuracy matters more than dramatic editing. Keep whites neutral, preserve real texture, and compare the photograph to the product under ordinary light before exporting. Heavy filters may create mood while increasing the chance that a buyer receives a color they did not expect.
Test the hero as a square and a small search thumbnail. Keep the uncropped original so your website can use a wider card, vertical product page, or social preview without stretching the marketplace crop.
Show scale and useful detail
A buyer should not have to calculate size from the description alone. Include at least one image that communicates scale immediately. A ruler is precise, while a worn view or hand-held image feels natural. For products with small parts, show the attachment point, closure, edge, or surface finish close enough to inspect.
Details should reduce uncertainty rather than repeat the hero image. If a product has multiple materials, photograph where they meet. If a 3D printed item has visible layer lines, show the actual finish. Honest detail photography builds more trust than hiding every normal characteristic of the making process.
Keep the collection consistent
Choose one background family, camera height, shadow style, and editing approach for a collection. Consistency makes a shop feel intentional and reduces production time. Photograph the setup itself and note the distance between product, light, and camera. Mark tripod or table positions with removable tape so a product added later can match the existing catalog.
Crop and export deliberately
Edit a high-resolution master, then create marketplace and website exports from that file. Use the sRGB color profile for predictable web display, sharpen lightly after resizing, and choose a quality level that preserves detail without creating an unnecessarily heavy page.
Name files for the product and view, such as cross-sun-stud-earrings-front.jpg. Descriptive names make the library easier to maintain. They do not replace alt text, but they are better than a folder full of IMG_4827 files.
Review the listing as a buyer
View the complete image sequence on a phone. Confirm that the first five images answer the most important questions, colors remain consistent, no crop cuts off a useful feature, and variation images are labeled clearly.
A strong product photo is not decoration. It is evidence that helps the buyer understand what will arrive.
The goal is fewer unanswered questions, fewer surprises, and a visual system that can grow with the shop.